How to add a dialog window to your android app
Dialog windows are a great way of displaying information and asking for user input.
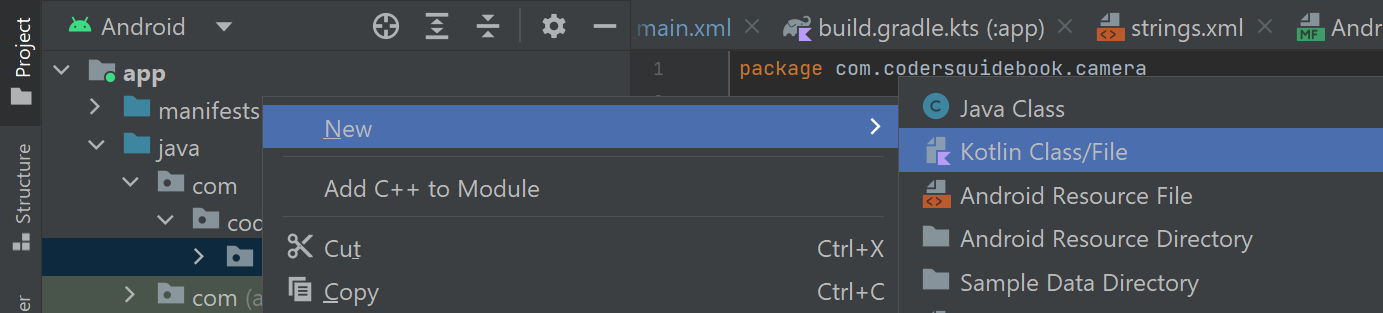
To add a dialog window to your Android app, navigate through Project > app > java then right-click the folder with the name of your project. Next, select New > Kotlin File/Class to create a Kotlin file that will organise the contents of the dialog window.
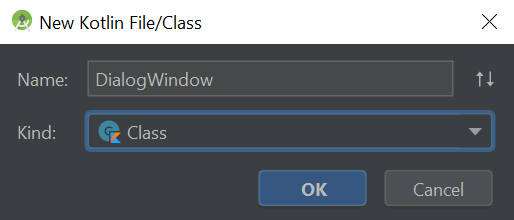
Name the file 'DialogWindow' and set its kind to 'Class' then press OK.
A file called 'DialogWindow.kt' should open in the editor.
The dialog window Kotlin code
To create and modify the dialog window, you will need to import the DialogFragment class by adding the following import statement to the top of the DialogWindow.kt file (anywhere below the package declaration on line 1 should be fine):
import androidx.fragment.app.DialogFragmentNext, locate the DialogWindow class constructor shown below.
class DialogWindow {
}
Currently, the class constructor is empty. Complete the class by editing its code so it reads as follows:
class DialogWindow : DialogFragment() {
override fun onCreateDialog(savedInstanceState: Bundle?): Dialog {
val builder = AlertDialog.Builder(activity!!)
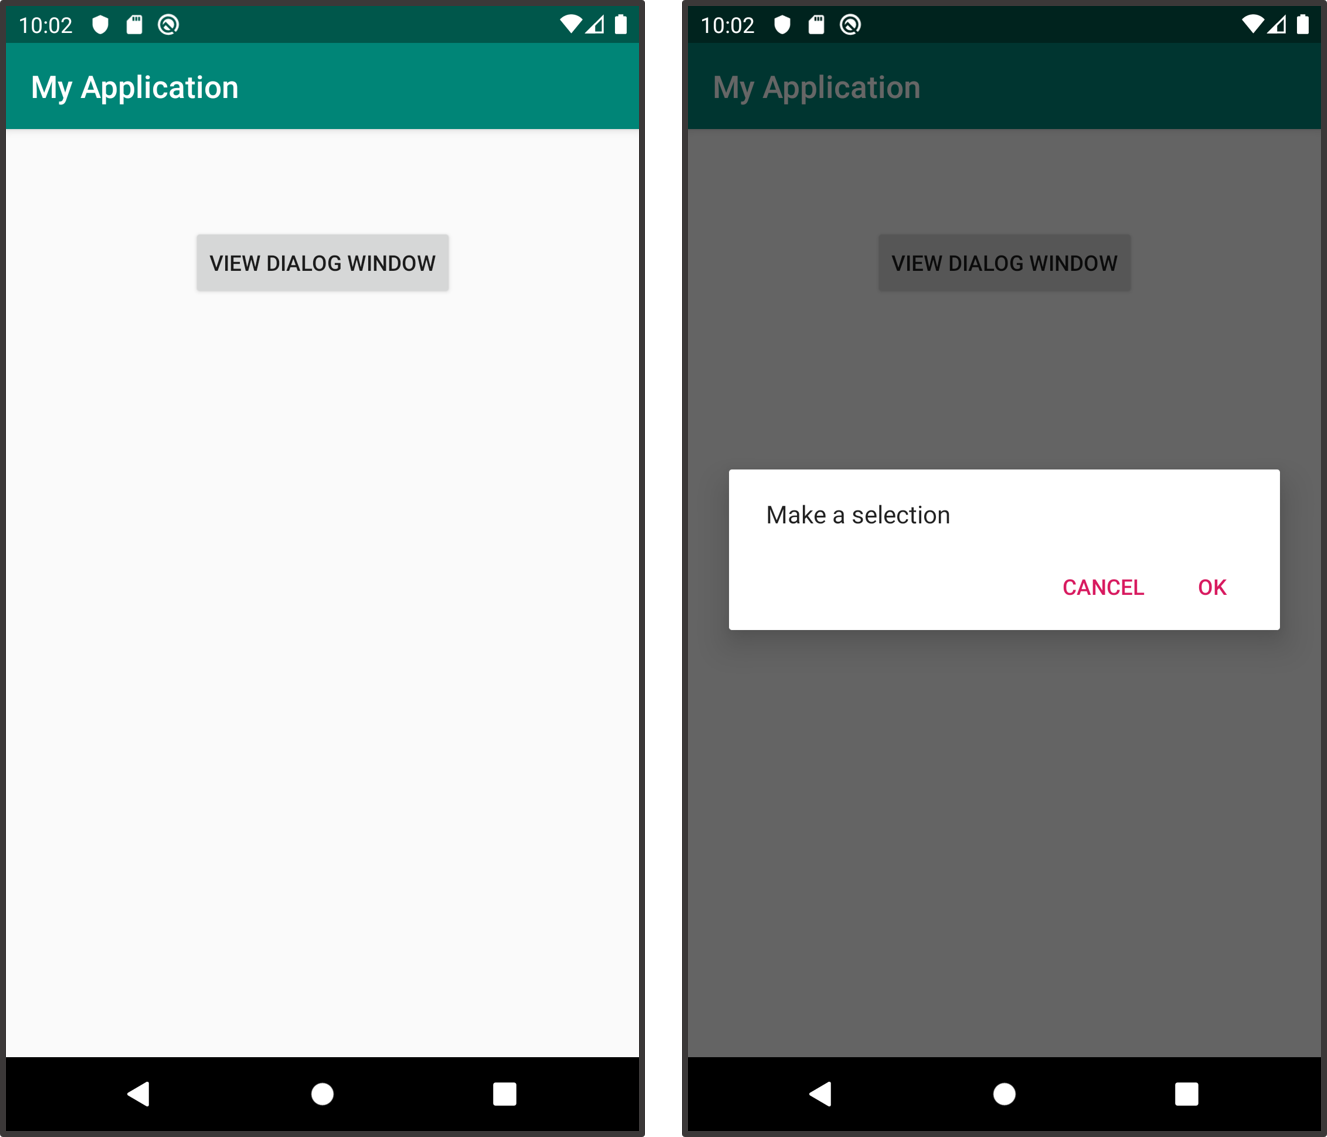
builder.setMessage("Make a selection")
.setPositiveButton("OK") { dialog, id ->
}
.setNegativeButton("Cancel") { dialog, id ->
}
return builder.create()
}
}The above code defines a function called onCreateDialog that will load the dialog window. The function uses an instance of the AlertDialog.Builder class to assemble the components of the dialog window, such as buttons and text. and customise the layout of, the dialog window. The AlertDialog.Builder instance defined above uses activity!!, as the context. Using activity as the context means that the active activity (likely MainActivity) will own the dialog fragment. If the activity closes, then the dialog window will close too.
The AlertDialog.Builder instance has several readymade methods to help us construct the dialog window. For example, we use the setMessage method to display text to the user. Meanwhile, the setPositiveButton and setNegativeButton methods generate buttons (OK and cancel, respectively). Positive buttons direct the dialog windows' action to proceed, negative buttons cancel the action, and neutral buttons (called using the setNeutralButton method) neither continue nor cancel the action. Neutral buttons simply delay the decision until later. Each button type can only be used once per dialog window.
Once the dialog window has been constructed, we use a return command to assemble the dialog window and make it available for use in the application. As it stands, you may notice a few errors in the code (several words will be red). A few of these errors can be fixed by importing missing classes. To import a missing class, left-click one of the red words (such as Bundle) then press alt and enter on your keyboard. A drop-down menu should appear. Select Import from the available options and Android Studio will import the missing class.
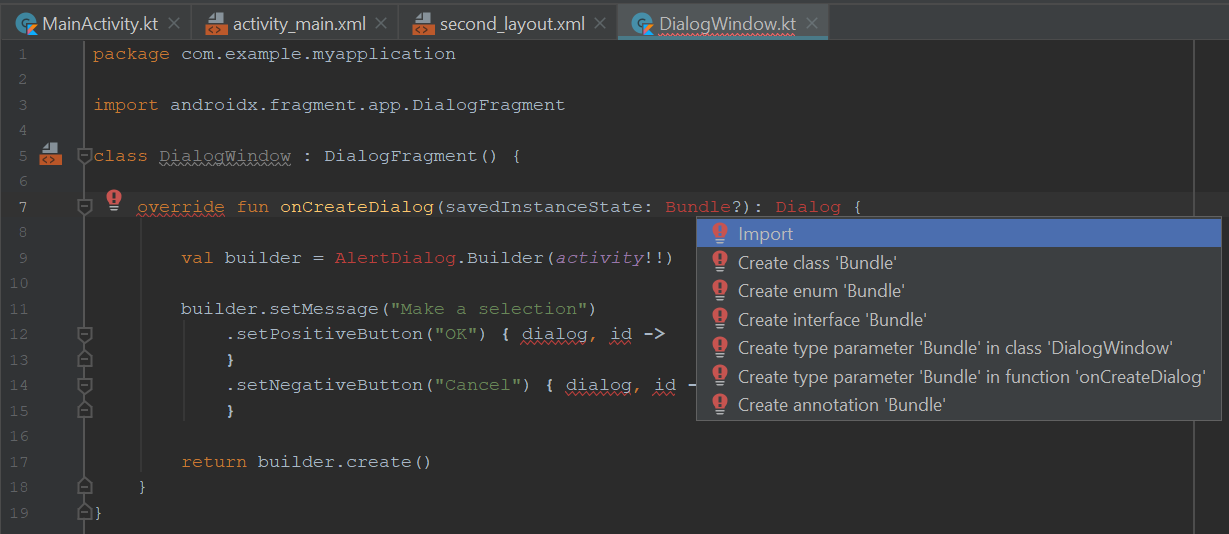
You can use this technique to import the missing Bundle, Dialog and AlertDialog classes.
Using a button to load the dialog window
Let's now create a button that will load the dialog window when clicked. First, open the XML layout file where you want to display the button. For example, you may like to use the activity_main.xml file which can be found by clicking Project > app > res > layout

Next, drag and drop a button widget from the Palette into the layout as described previously.
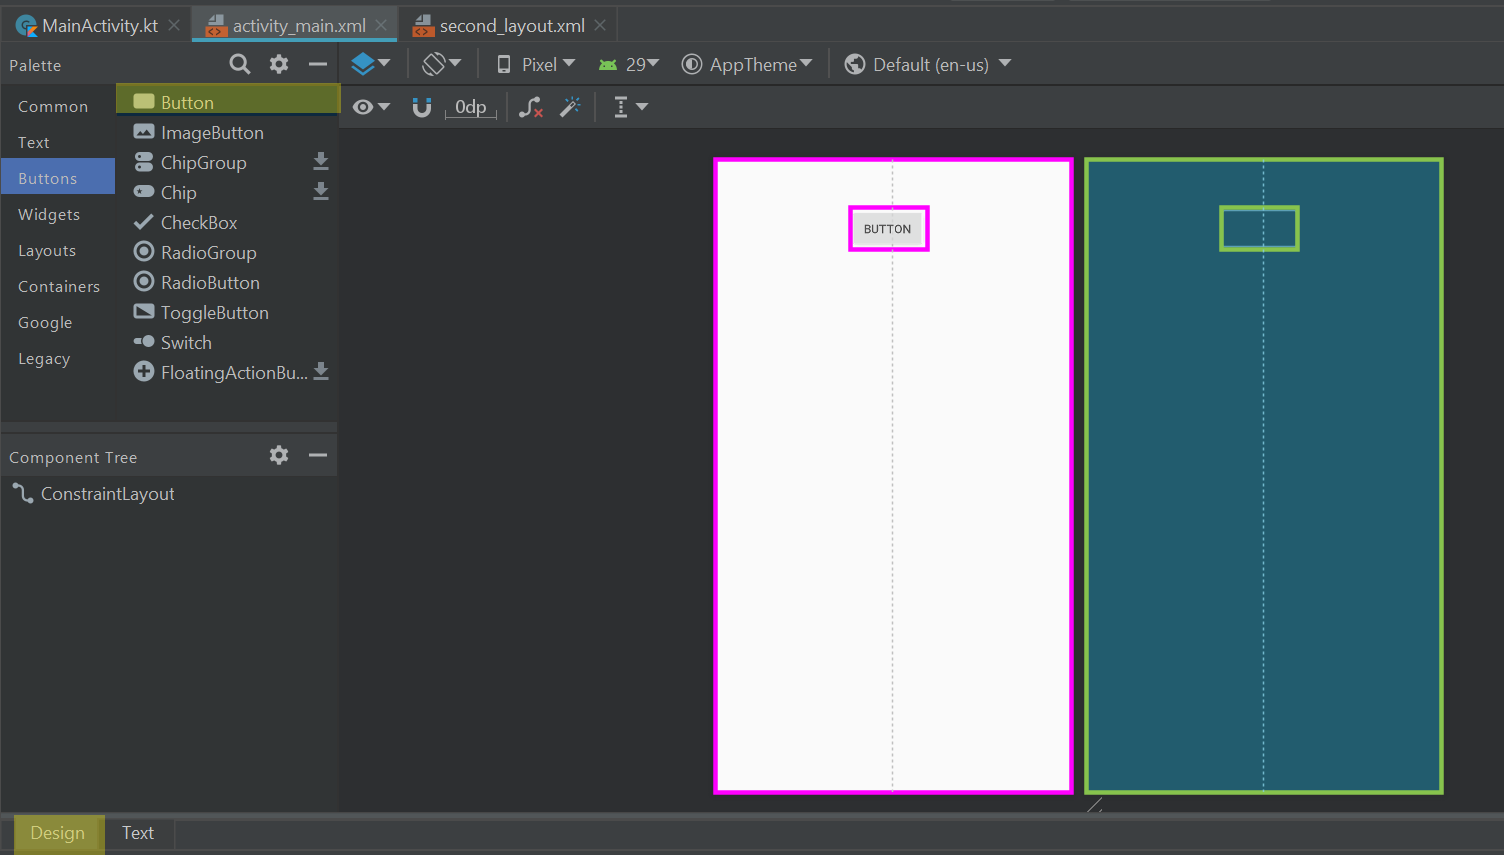
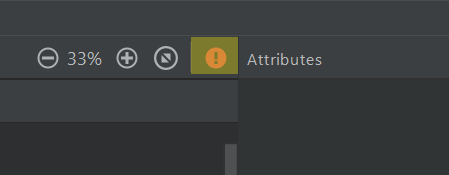
If a red warning sign appears in the top-right corner of the editor window then you may need to press the infer constraints button to resolve the missing constraints error.

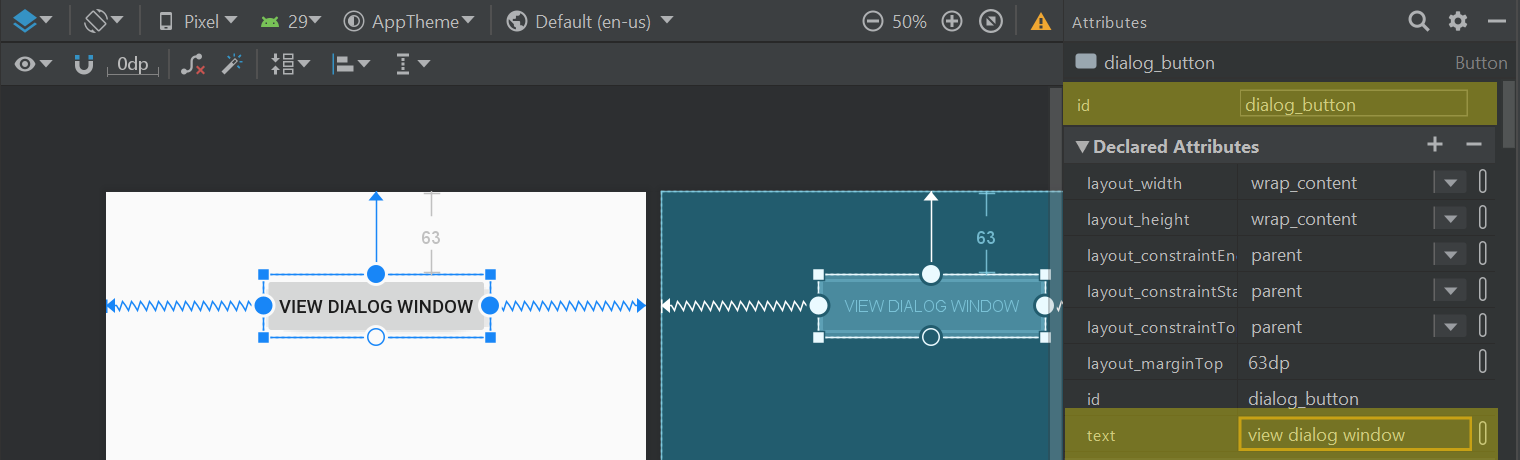
Select the button and open the Attributes panel. Set the id to 'dialog_window' and the text to 'view dialog window' (note this may result in a hardcoded text warning which can be resolved by creating a string resource as described previously).
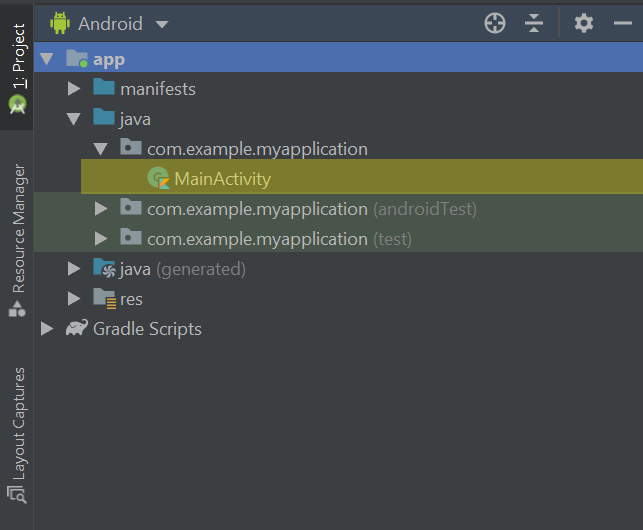
Moving on, let's now make the button operational by writing some code in the MainActivity.kt file. If the file is not already open then you can find it by clicking Project > app > java > folder for your project.
Add the following code to the MainActivity.kt file below the setContentView statement in the onCreate function:
val button = findViewById<Button>(R.id.dialog_button)

button.setOnClickListener {
    val myDialog = DialogWindow()
    myDialog.show(supportFragmentManager, "first_dialog")
}
The above code loads the dialog window when the button is clicked. If Button is underlined in red then you will need to select the word and press alt and enter on your keyboard to import the Button class into the Kotlin file. Altogether, the complete MainActivity.kt file should look like this:
package com.example.myapplication

import androidx.appcompat.app.AppCompatActivity
import android.os.Bundle
import android.widget.Button

class MainActivity : AppCompatActivity() {

    override fun onCreate(savedInstanceState: Bundle?) {
        super.onCreate(savedInstanceState)
        setContentView(R.layout.activity_main)

        val button = findViewById<Button>(R.id.dialog_button)

        button.setOnClickListener {
            val myDialog = DialogWindow()
            myDialog.show(supportFragmentManager, "first_dialog")
        }
    }
}
Congratulations! You have now created a dialog window! We will explore dialog windows further and run through some of the ways you can style them and make them functional in later tutorials.