How to add and style text in your Android app
Every app contains text. Text allows you to display information and help the user interact with your app. The easiest way to add text to an Android app is to incorporate a TextView widget into the target XML layout resource file such as activity_main.xml. To locate your project's layout resource files, navigate through Project > app > res > layout. Once you have opened the appropriate layout resource file, you can add text via the widgets in the Palette or by editing the code of the layout resource file directly. We will discuss both approaches.

Define text as a string resource
In Android programming, it is good practice to define any messages that will be displayed to the user as a string resource. A single String resource can be used an unlimited number of times throughout the app. This is handy because it means you can update all areas that use the String by altering a single resource. Also, Android Studio allows you to define translations for each String, which is useful if you intend to release your app in multiple languages.
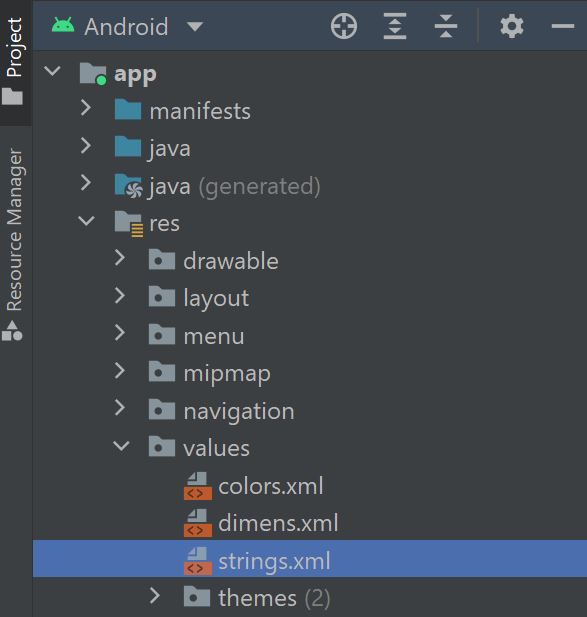
All Android Studio projects should contain a readymade resource file to store the application's Strings. To locate the resource file, navigate through Project > app > res > values and open the file called strings.xml.
To define a new string resource, you should add a string element similar to the following to the strings.xml file:
<string name="new_text">My new text!</string>In a string element, the name of the resource is defined in the name attribute, while the message that will be displayed is inserted between the opening and closing string tags. Referring to the above example, the name of the string resource is new_text and the displayed message will be "My new text!". You can reference that string elsewhere in your application by referring to its name. For example, you could use the following Kotlin code in an activity to retrieve the value of the new_text string resource and assign it to a variable called message.
val message = getString(R.string.new_text)The message variable defined above would store the value "My new text!".
Creating a TextView widget using the Palette
Android Studio allows you to construct user interfaces without writing any code. You simply drag and drop the widgets you need from a panel called the Palette. To add a TextView widget to a layout using the Palette, ensure you have opened the target XML layout resource file in Design mode. Next, refer to the Palette on the left-hand side of the editor, explore the Text category and locate the TextView widget. To add the TextView widget to the user interface, drag and drop the widget from the Palette onto the desired location in the layout editor window, as shown below.

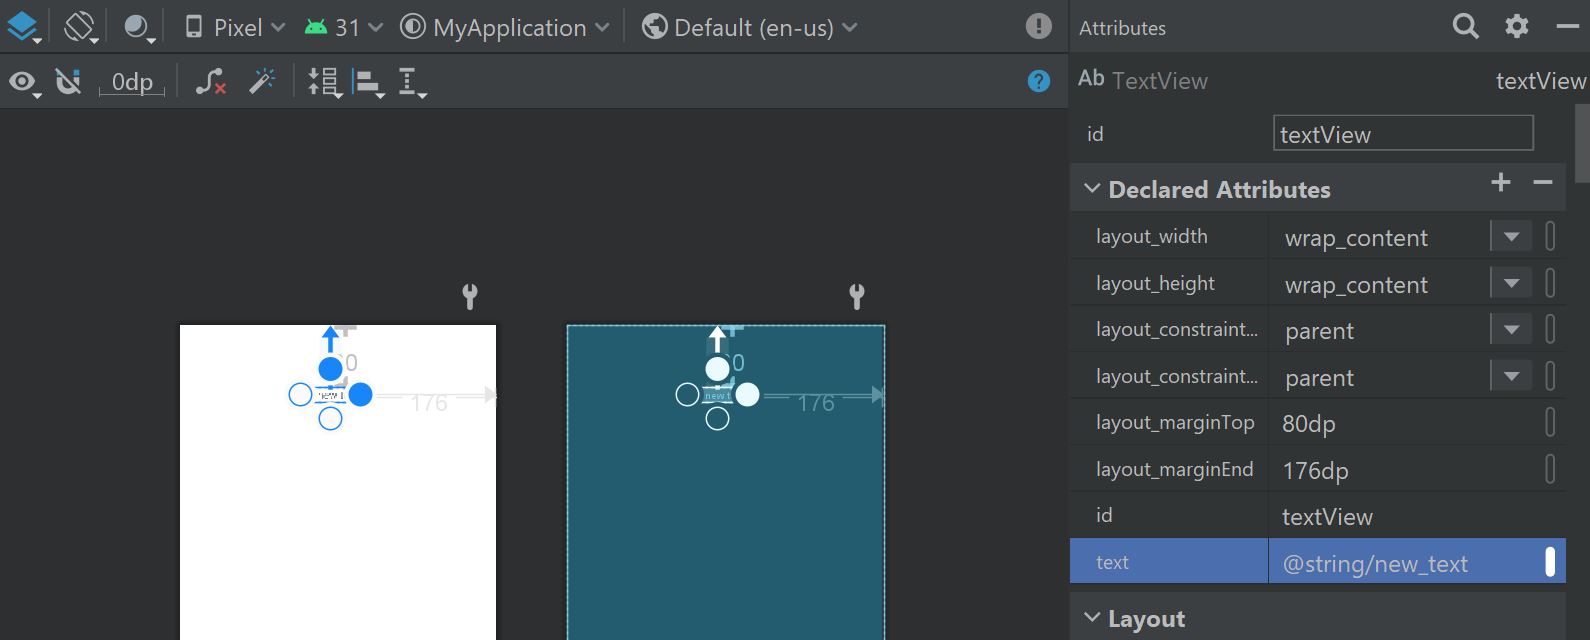
By default, the TextView widget will display a message that reads "TextView". To change this, select the TextView widget in the layout then refer to the Attributes menu on the right-hand side of the editor. In the list of Declared Attributes, locate the attribute called text and edit its value to the string resource you would like to display instead. In the below example, the TextView widget is directed to display the new_text string resource we defined earlier, which will display the message "My new text!".
Creating a TextView widget using XML code
As an alternative to dragging widgets from the Palette, you can also define widgets by editing the layout resource file's XML code. To define a TextView widget using code, open your chosen layout resource file in Code mode and add the following TextView element to the file:
<TextView
        android:id="@+id/textView"
        android:layout_width="wrap_content"
        android:layout_height="wrap_content"
        android:text="@string/new_text" />
In the above code, the TextView widget is assigned an ID of textView. The widget's ID can be used to reference the widget elsewhere in the application such as in your Kotlin files. The width and height of the widget are set to wrap_content, which means the widget's dimensions will adjust to accommodate the size of the displayed text. Finally, the widget's text attribute is set to the String resource that you wish to display.
Text size
Once you have added a TextView widget to your app, you can style it. For example, you can edit the size of the text. To do this, select the TextView object and locate its textSize attribute in the Attributes panel.
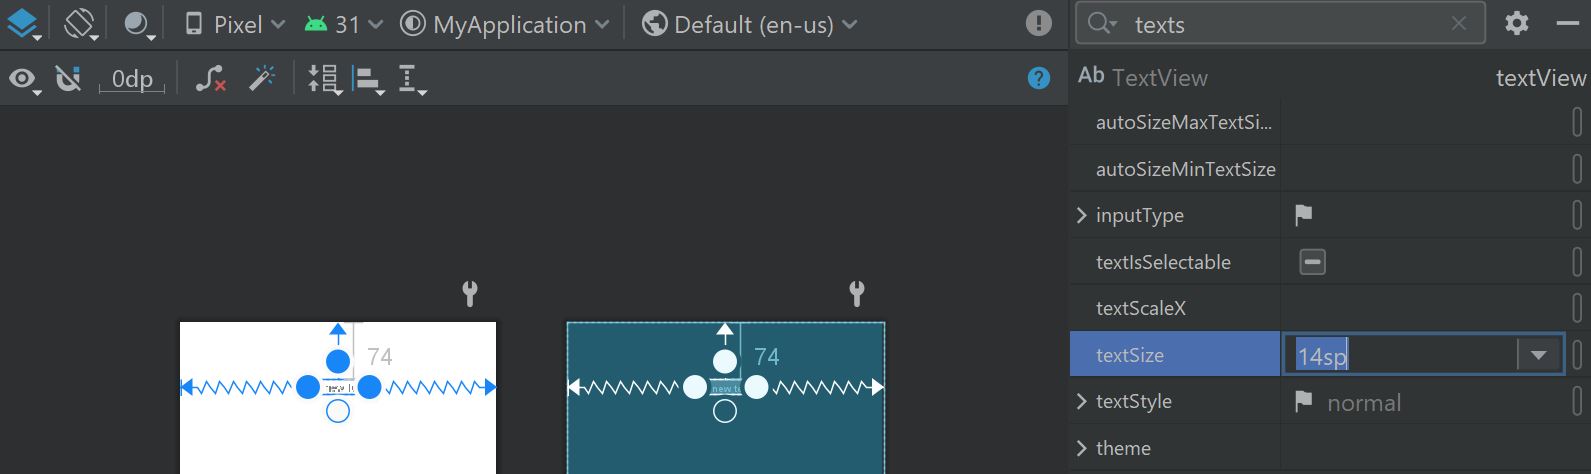
By default, the textSize attribute will be set to 14sp but you can make it smaller or larger depending on your preference. The 'sp' unit stands for Scale-independent Pixels. Declaring text sizes in sp mean they will scale accordingly when the user alters the font size in their devices' settings. This is useful for people who need larger/smaller text. If you do not want your text to rescale then use the unit dp (Density-independent Pixels) instead.

You can also alter the textSize attribute by editing the layout's XML code as follows:
<TextView
        android:id="@+id/textView"
        android:layout_width="wrap_content"
        android:layout_height="wrap_content"
        android:text="@string/new_text"
        android:textSize="28sp" />