How to play audio using the MediaPlayer class and Kotlin
This tutorial will explore how to play and pause audio files in an Android app using the MediaPlayer class. The first half of this tutorial will focus on how to play audio files which are included within the app itself, while the second half will discuss how to play external audio files (on the user's device or online) and handle errors.
Importing audio files
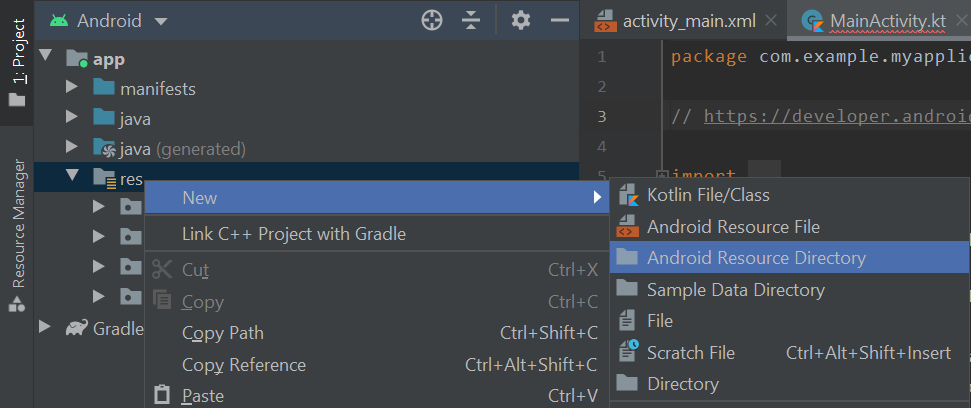
Audio files that will included with the app must be imported into the Android Studio project. To create the resource directory that will store the audio files, navigate through Project > app then right-click the res folder. Next, select New > Android Resource Directory
Set the Directory name to raw then press OK.
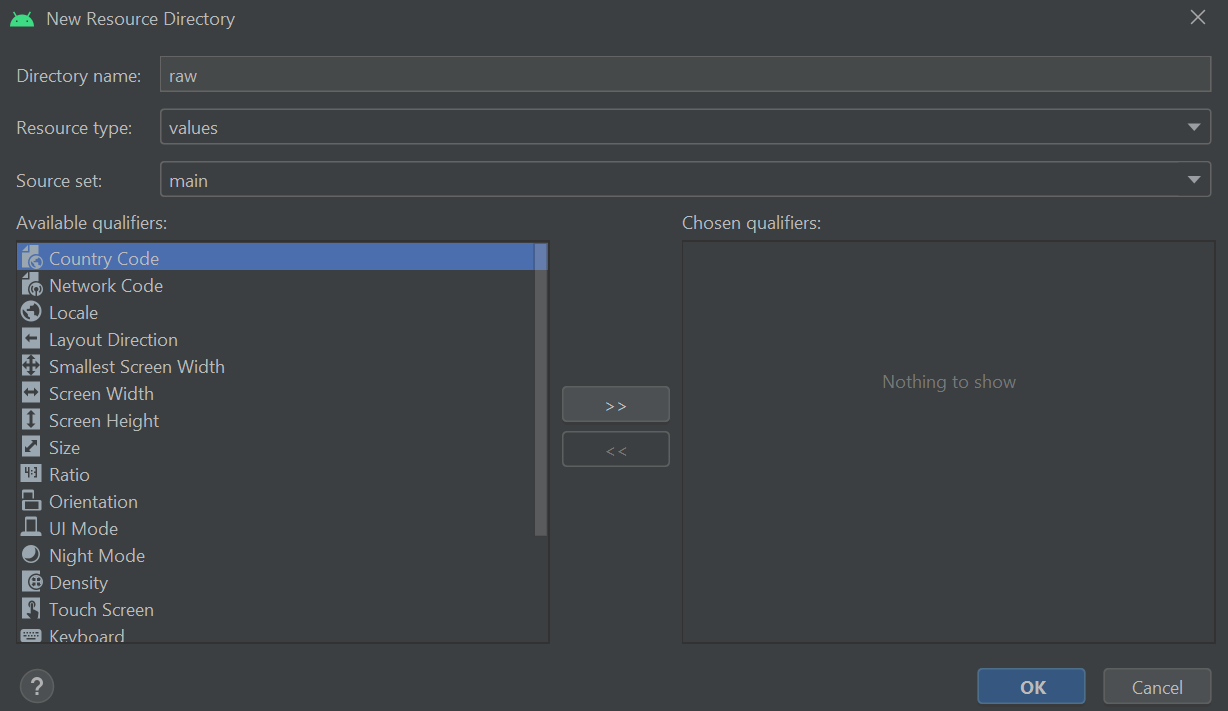
The above steps will create a resource directory called raw, which is where you will store media files. For this tutorial, we will use an MP3 recording of running water (which you can download below) but you are welcome to use another audio file of your choosing.
water.mp3Drag and drop the audio file from your computer into the raw folder. Note, you may also be asked to confirm that you wish to move the audio file over to the project.
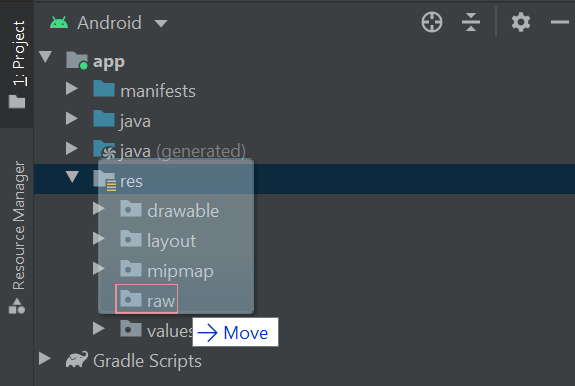
The water.mp3 file should now be ready to be used.
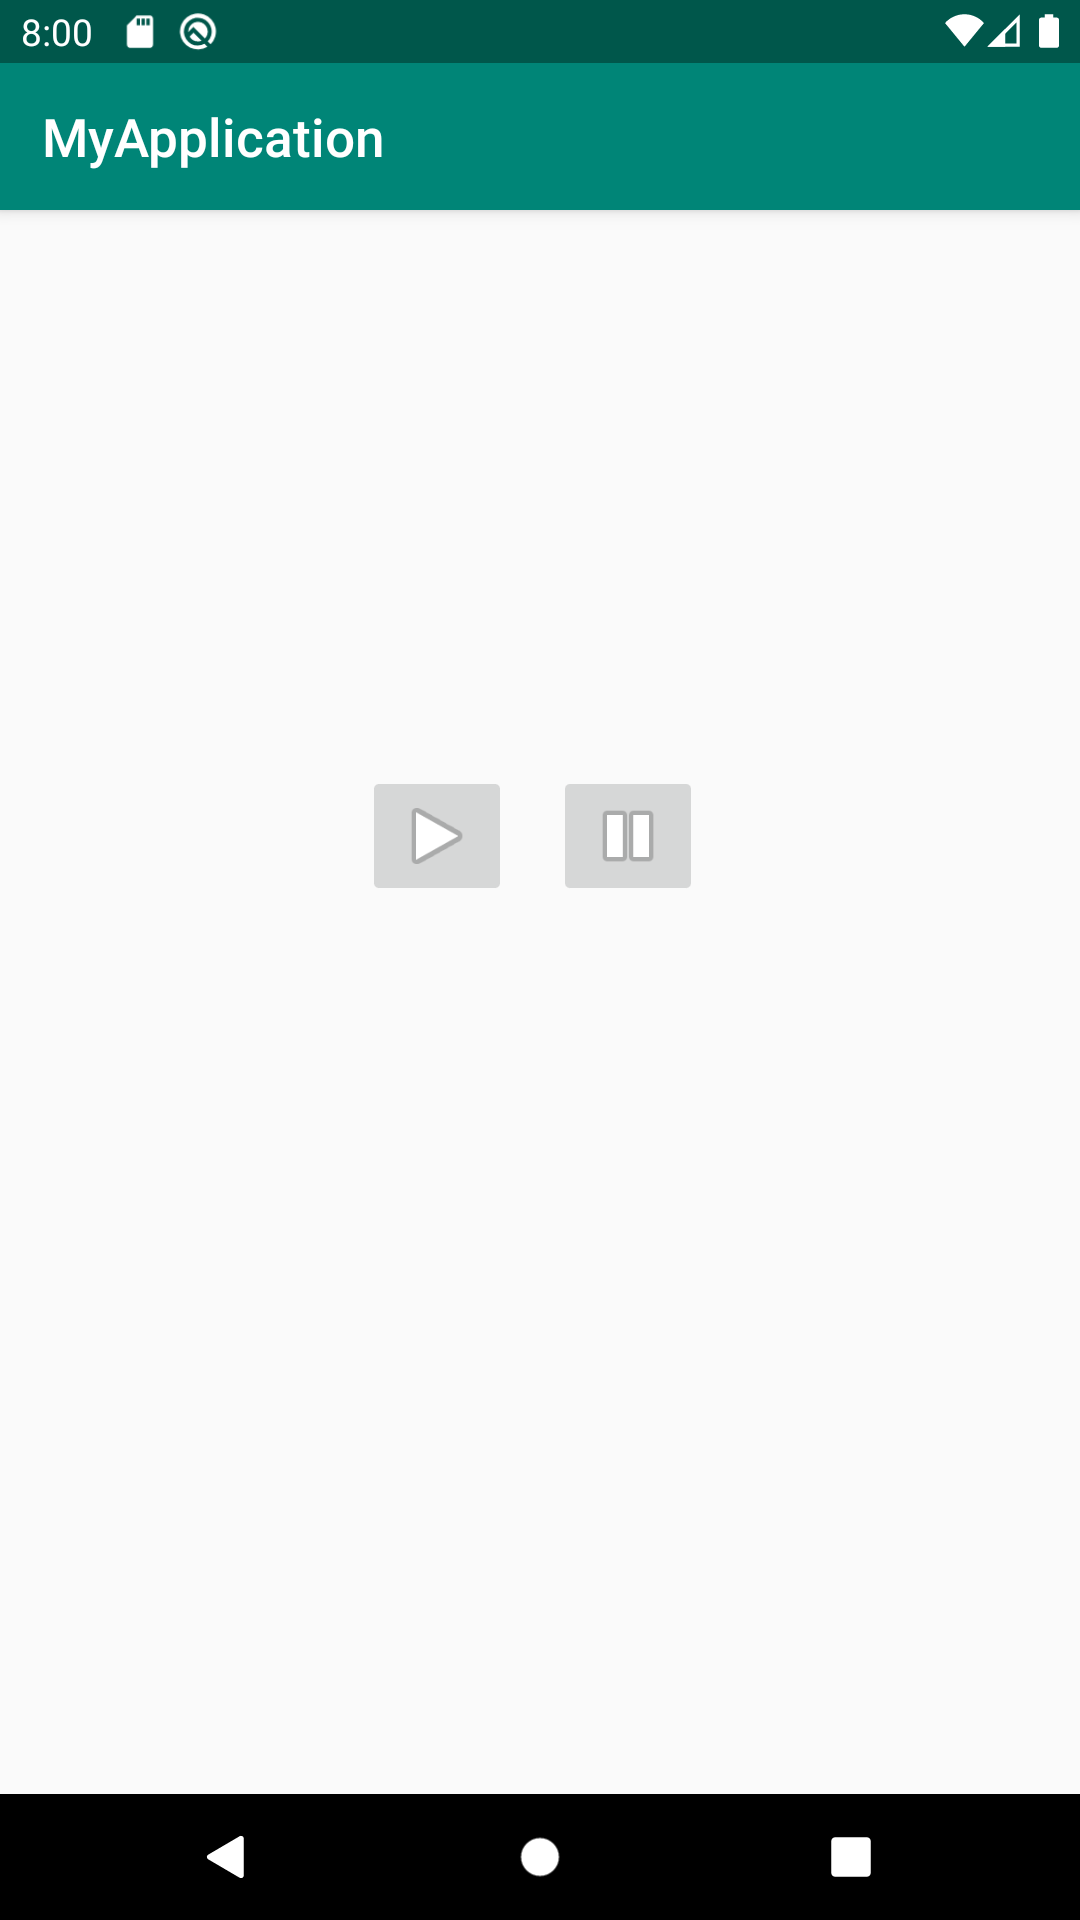
Adding the play and pause buttons
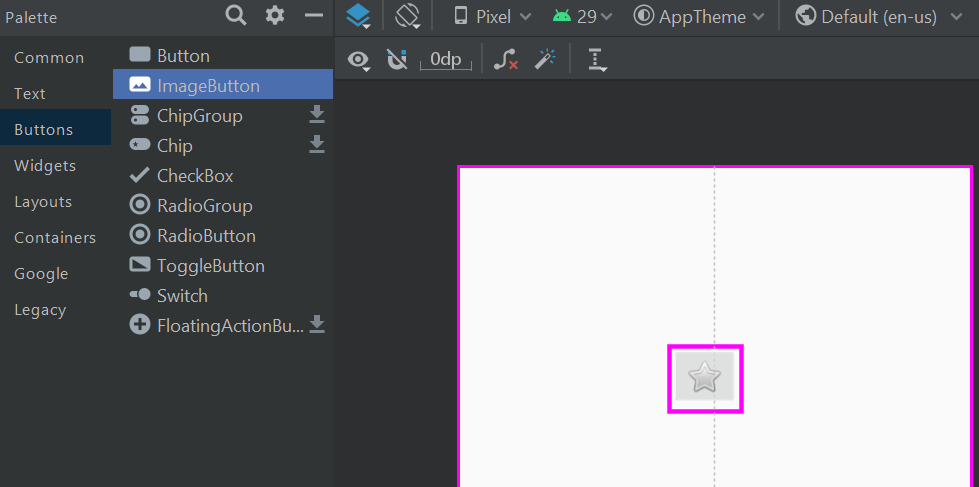
In this section, we will add the play and pause buttons that will control playback. To add the buttons, open the layout resource file where you want the buttons to go such as activity_main.xml (found by navigating through Project > app > res > layout) in Design view and locate the Palette. Search in the Buttons category for the ImageButton widget then drag and drop it into the layout.
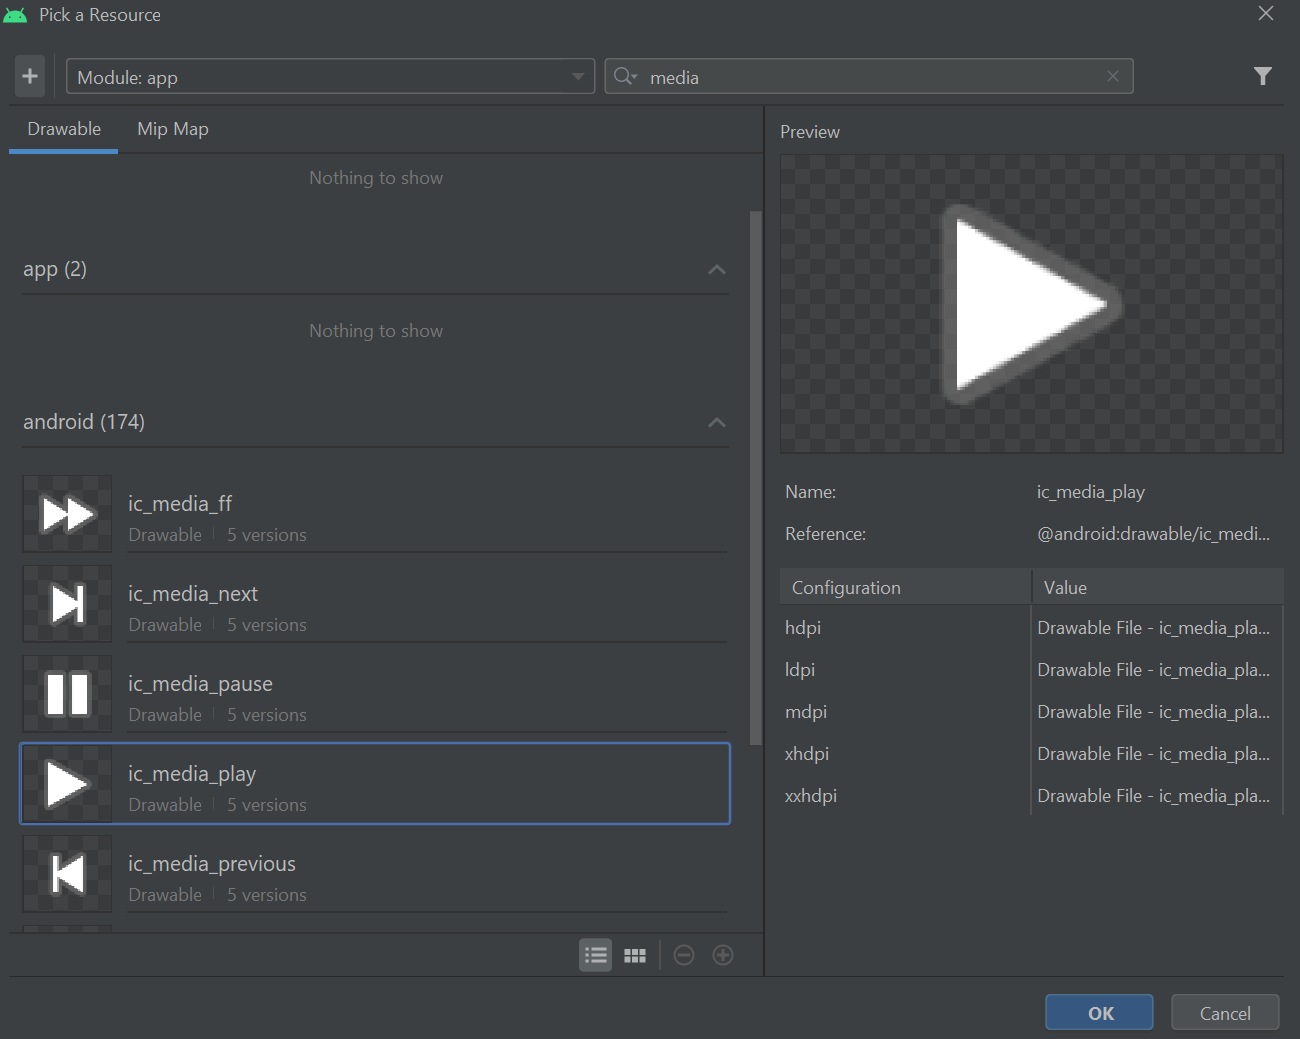
A 'Pick a Resouce' window will invite you to select an image for the button. Select ic_media_play then press OK to add the button to the layout.
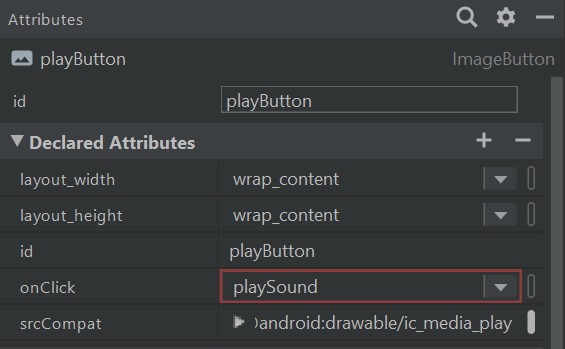
Select the Play button then refer to the Attributes panel. Set the id to 'playButton' and the onClick attribute to 'playSound'. Note Android Studio may not recognise the playSound value yet but we will resolve this shortly.
Add another ImageButton like before, except this time use ic_media_pause as the image, set the id to pauseButton and set the onClick attribute to pauseSound. NB: you may have to resolve missing constraints and missing contentDescription errors.
Once the play and pause buttons are added to the layout, we can write the Kotlin code that will make the buttons operational.
Making the play and pause buttons operational
To make the buttons operational, open the Kotlin file which manages the layout e.g. MainActivity.kt (found by navigating through Project > app > java > the name of the project) then add the following import statements to the top of the file:
import android.media.MediaPlayer
import android.view.View
Next, add the following variable to the top of the class:
var mMediaPlayer: MediaPlayer? = nullThe mMediaPlayer variable defined above allows your app to utilise the MediaPlayer class and coordinate audio and video playback.
Moving on, use the following code to define methods that will handle various playback actions.
// 1. Plays the water sound
fun playSound() {
    if (mMediaPlayer == null) {
        mMediaPlayer = MediaPlayer.create(this, R.raw.water)
        mMediaPlayer!!.isLooping = true
        mMediaPlayer!!.start()
    } else mMediaPlayer!!.start()
}

// 2. Pause playback
fun pauseSound() {
    if (mMediaPlayer?.isPlaying == true) mMediaPlayer?.pause()
}

// 3. Stops playback
fun stopSound() {
    if (mMediaPlayer != null) {
        mMediaPlayer!!.stop()
        mMediaPlayer!!.release()
        mMediaPlayer = null
    }
}

// 4. Destroys the MediaPlayer instance when the app is closed
override fun onStop() {
    super.onStop()
    if (mMediaPlayer != null) {
        mMediaPlayer!!.release()
        mMediaPlayer = null
    }
}
In the above code, the playSound method is responsible for playing the water sound. First, the playSound method checks whether the mMediaPlayer variable is set to null. If the mMediaPlayer variable is null, then an instance of the MediaPlayer class is constructed using the class's create method. The create method requires you to supply the context that the MediaPlayer instance is associated with and the ID of the audio resource that should be played. In the above code, the context is set to 'this', which refers to the MainActivity activity, and the audio resource will be the water.mp3 file we imported earlier. Finally, the MediaPlayer class's isLooping property and start method are used to signal that we want playback of loaded audio resource to commence and repeat until directed otherwise. On the other hand, if the mMediaPlayer variable is not null, then this means it has already been assigned an audio file and we can simply resume playback using the MediaPlayer class's start method.
The second method, pauseSound, checks whether the MediaPlayer instance is currently playing audio. If playback is in progress, then the MediaPlayer class's pause method is used to pause playback. Paused media can be resumed using the MediaPlayer class's start method, as demonstrated in the playSound method.
The third method, stopSound, is optional and included to show you how you would stop playback as opposed to pausing it. In the above code, the MediaPlayer class's stop method halts and resets the playback progress of the audio file, while the MediaPlayer class's release method removes the loaded audio file from the MediaPlayer instance. Releasing the MediaPlayer instance when playback stops is good practice because it prevents the media player from using the device's memory and battery unnecessarily.
Finally, the onStop method refers to a stage of the Android activity lifecycle that occurs when the activity is shutting down and no longer visible to the user. In the above code, we instruct the onStop stage to check whether the MediaPlayer instance has an audio file assigned to it. If an audio file is assigned, then the above code releases the audio file to conserve the device's memory and battery life.
And that's it! In using the above code, you should find you can play, pause and stop the playback of the water sound.
Play external audio files
In addition to playing audio resources that are included with the application, the MediaPlayer class can also accept external files from elsewhere on the user's device or over the internet. For example, you load a song from the user's device as follows:
fun playContentUri(uri: Uri) {
    val mMediaPlayer = MediaPlayer().apply {
        setDataSource(application, uri)
        setAudioAttributes(AudioAttributes.Builder()
            .setUsage(AudioAttributes.USAGE_MEDIA)
            .setContentType(AudioAttributes.CONTENT_TYPE_MUSIC)
            .build()
        )
        prepare()
        start()
    }
}
The above code uses a method called playContentUri to initiate the playback of an audio file based on its Uri (a Uri is a piece of data that locates a file). In addition to loading the audio file using the setDataSource method, the above code also implements a method called setAudioAttributes. The setAudioAttributes method lets you describe the type of content you will be playing. This can be useful in several situations, such as when other apps and hardware interact with your app during playback. The attributes configuration used above specifies that the MediaPlayer will be used to play music. You can explore other attributes such as alarms, speech etc. in the official Android documentation.
Handle MediaPlayer errors
Things can go wrong with the MediaPlayer class from time to time, especially when you are playing external audio files. For example, if your app attempts to play a file that no longer exists then the app could crash if the error is not handled appropriately. One way to handle errors is to wrap the MediaPlayer initialisation code inside a try/catch block. The try/catch block will "try" a certain task (initiating playback) and "catch" any predefined exceptions (errors). There are two main ways to identify probable exceptions. First, you can test the app yourself and find which exceptions are output in the Logcat when the app crashes (see this tutorial for more information on reading the Logcat). Alternatively, you could read the Android documentation for the methods you are using and find out which exceptions they may throw. For example, here is the documentation for the setDataSource method. One of the exceptions it can potentially throw is the IOException. An IOException is caused by an error reading/writing a file and so is likely to be thrown if the app tries to play an audio file which no longer exists. To catch this exception, you could write the following code:
fun playContentUri(uri: Uri) {
    var mMediaPlayer: MediaPlayer? = null
    try {
        mMediaPlayer = MediaPlayer().apply {
            setDataSource(application, uri)
            setAudioAttributes(AudioAttributes.Builder()
                .setUsage(AudioAttributes.USAGE_MEDIA)
                .setContentType(AudioAttributes.CONTENT_TYPE_MUSIC)
                .build()
            )
            prepare()
            start()
        }
    } catch (exception: IOException) {
        mMediaPlayer?.release()
        mMediaPlayer = null
    }
}
The above code uses a try/catch block to attempt to load an audio file based on its Uri as described in the previous section. If an IOException error is thrown, the MediaPlayer instance is reset and set to null, which essentially removes any data that has previously been applied. A new MediaPlayer instance will need to be constructed for playback to resume.