How to add images to your website
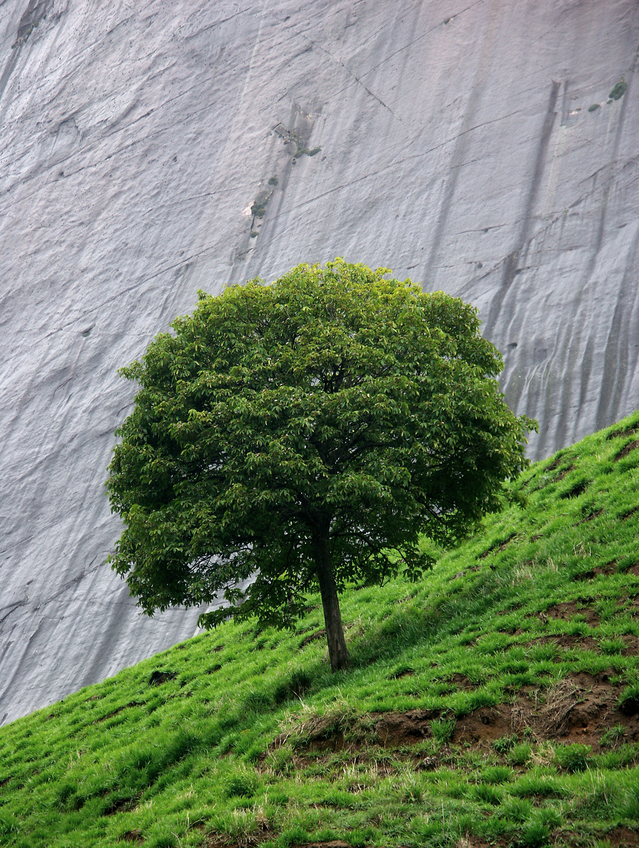
Images can greatly enhance the appearance of your website. Fortunately, adding images to your HTML script is also quite simple and this tutorial will show you everything you need to know. If you do not have an image of your own you would like to use, then you can save the below image of a tree. Save the image in the same folder on your computer as your index.html file and 'main.css' stylesheet.
HTML code for adding an image
To add the image of the tree to your website, type the following code into the body element of one of your web pages (e.g. the index.html file):
<img src="tree.jpg" alt="tree.jpg" class="photo"/>Let's dissect that code a little. First, the img tag tells the web browser all the code within the angle brackets refers to an image. Next, the src attribute specifies the location and file name of the image. The location can be a web address (e.g. https://images.freeimages.com/images/large-previews/c0e/lonely-tree-1393586.jpg - the website the image of the tree was originally sourced from) or a file directory for images you upload yourself (e.g. tree.jpg or images/tree.jpg).
 An important note about using images hosted by other websites: using a link to another website as your image src is called 'hotlinking'. Hotlinking is discouraged (and in some cases illegal) because every time the image is loaded on your website, it drives traffic to the server which hosts the file. Increased traffic often means increased costs for the person(s) who uploaded the image. Furthermore, in hotlinking images, you run the risk that the owner of the image may one day remove it from their server or introduce measures to block hotlinking. It is recommended you upload images you intend to use for your website yourself because it is good web etiquette and helps ensure the image always loads correctly.
When linking to images you upload yourself, it is important to consider what folder the image is in relative to the HTML file. For example, <img src="tree.jpg"> will only work if the image can be found in the same folder as the HTML file. If the image was one folder deeper then we would have to edit our src attribute to include that folder name followed by a forward slash. For instance, if our tree.jpg file was in a folder called 'images' then the src attribute would look like this: <img src="images/tree.jpg">. On the other hand, if our image was in a parent folder relative to the HTML file then we would need to link to the folder above by including ../ before the file name. For example, if our tree.jpg file was two folders above the HTML file then our src attribute would look like this: <img src="../../tree.jpg">
The next part of the image declaration is the alt attribute. The text specified in the alt is usually a short description of the image. It will only be displayed to the user if the image fails to load. It can sometimes help search engines index your web pages if you set the value of the alt attribute to the filename of the image. The reasoning behind this is that search engines like tidy web pages with a clearly defined structure.
Finally, the above code assigns the image a class. Classes identify HTML elements in the CSS stylesheet and all elements sharing a class will be styled identically. For example, if we had five images on our webpage and three of them were assigned the class 'photo', then we could modify the style of all three images by referencing the 'photo' class in the main.css stylesheet. There are many options for styling images and we will begin to explore them in the next tutorial.
<!DOCTYPE html>
<html lang="en-GB">
<head>
    <title>Home</title>
    <meta charset="utf-8">
    <meta name="viewport" content="width=device-width, initial-scale=1.0">
    <link rel="stylesheet" type="text/css" href="main.css">
</head>
<body>
    <h1>My nature and wildlife blog</h1>
    <img src="tree.jpg" alt="Tree" class="photo"/>	<!--THIS IS HOW WE LINK TO AN IMAGE IN THE SAME HOLDER AS THE HTML FILE-->
</body>
</html>