How to store data in a Spring Boot application using Spring Data
Applications need to store data. To facilitate data storage in Spring Boot-based applications, you can use a toolbox called Spring Data to persist, maintain and handle data using databases. Spring Data supports various data formats and requirements, including NoSQL MongoDB-based databases and relational SQL databases. While the databases may vary, Spring Data provides a consistent programming interface to allow you to easily incorporate custom data storage facilities in your applications. In this tutorial, we will explore Spring Data and its features in the context of the inventory management application that we started in the previous tutorial.
The full code for the project covered in this tutorial can be found on our Github.
Lombok
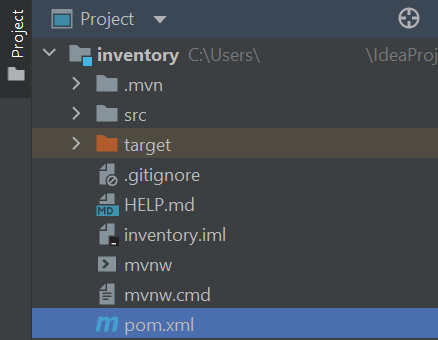
Before we get begin, it is worth discussing a tool called Lombok. Lombok is a Java library that helps you avoid writing repetitive code. To achieve this, Lombok provides you with a collection of annotations that automatically generate code when your project is compiled. Lombok can be incorporated as a dependency when creating the project template using Spring Initializr; however, you can also add the Lombok dependency manually. To manually add the Lombok dependency, open the project's pom.xml file which can be found in the project's root directory as shown below:
The pom.xml file coordinates the dependencies for the projects that are built using Maven. To add the Lombok dependency, locate the dependencies element and add the Lombok dependency as shown below:
<dependencies>
<!-- Any existing dependencies -->
<dependency>
<groupId>org.projectlombok</groupId>
<artifactId>lombok</artifactId>
<optional>true</optional>
</dependency>
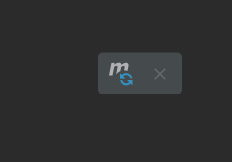
</dependencies>Whenever you modify the pom.xml file, you should press the M icon that appears in the IntelliJ window to rebuild the project and incorporate any dependency changes.
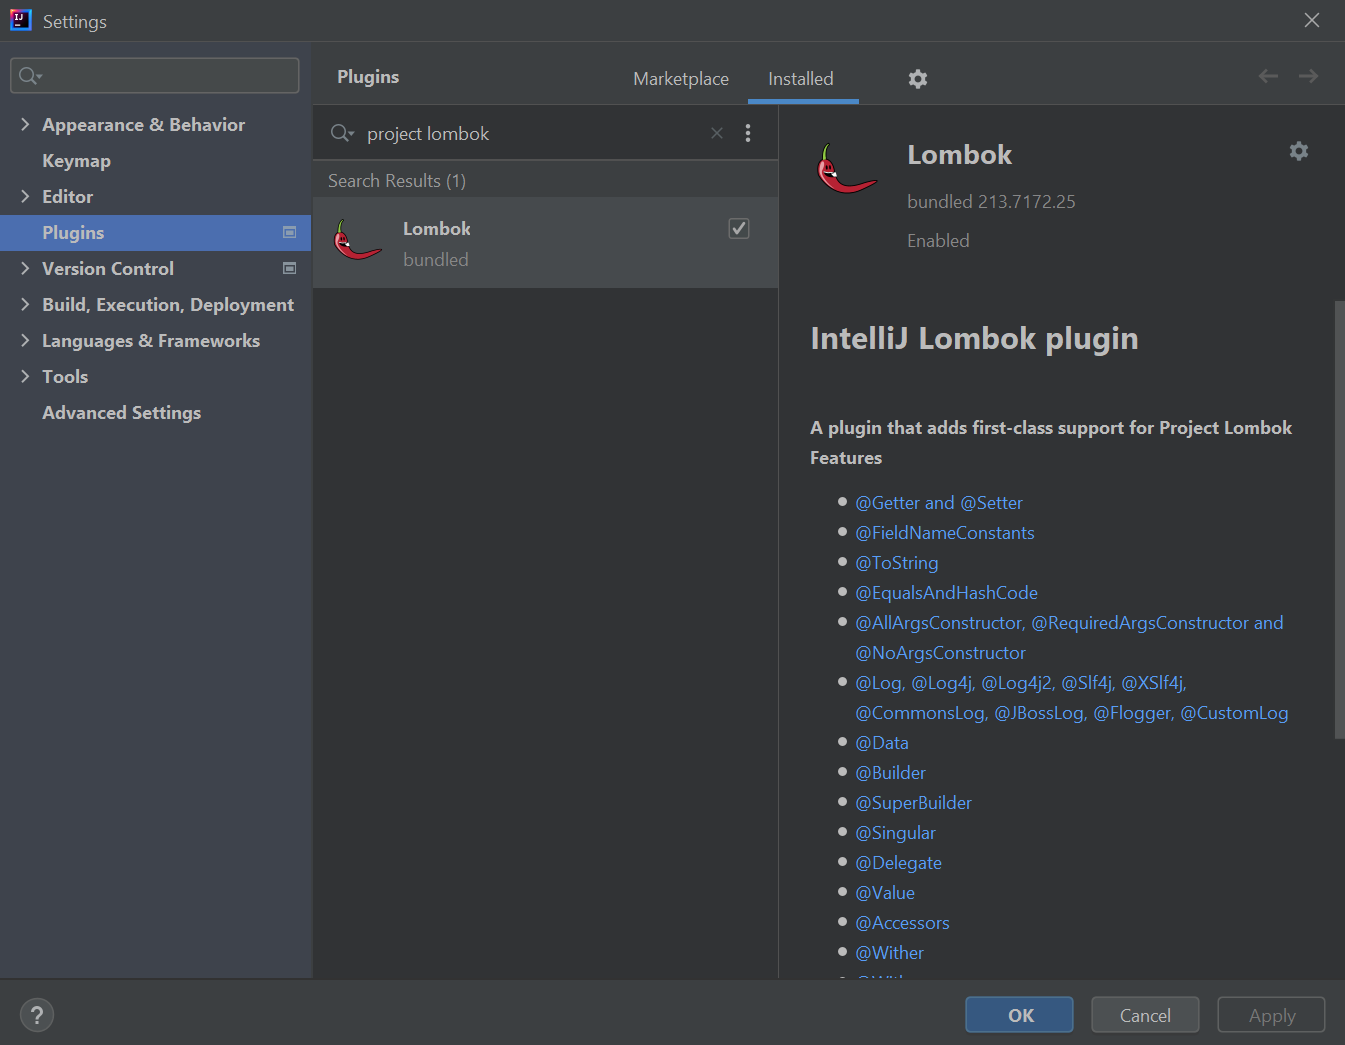
Also, to ensure that IntelliJ processes the Lombok annotations correctly and does not incorrectly highlight code errors, you need to install the Lombok plugin. To do this, navigate through File > Settings > Plugins and search the plugin marketplace for Project Lombok. Once Project Lombok is installed in your IntelliJ, you should see it in your list of installed plugins.
Your project should now be ready to use Lombok. We will discuss how to use the various Lombok annotations in this tutorial and subsequent tutorials also.
Creating a database entity
Spring Boot applications can utilise the Java Persistence API (JPA) to store Java objects in a relational database. Relational databases store items that have predefined relationships with each other. For example, a relational database will often comprise multiple columns and rows. Each column contains a field of data that must be supplied, and each row contains a new item in the database. Typically, one column in a relational database table will serve as a primary key. A primary key is an identifying value that is unique to each item in the database. For example, it is common to assign each new item an incremental number as its primary key value. Furthermore, you can also define foreign keys. Foreign keys link related items in different database tables.
To use Spring Data JPA in a Spring Boot project, either include Spring Data JPA as a dependency when creating your project template using Spring Initializr or add the Spring Data JPA dependency manually to your project’s pom.xml file:
<dependency>
    <groupId>org.springframework.boot</groupId>
    <artifactId>spring-boot-starter-data-jpa</artifactId>
</dependency>
In Spring Boot applications, the JPA allows you to create a relational database table for a Java class by labelling the class as an entity. An entity is an object that is mapped to a database table. To create the entity, the JPA uses the Java class’s fields to prepare the database table’s columns. The JPA also facilitates more advanced features such as pagination of results, dynamic database queries and support for mapping XML code to database entities.
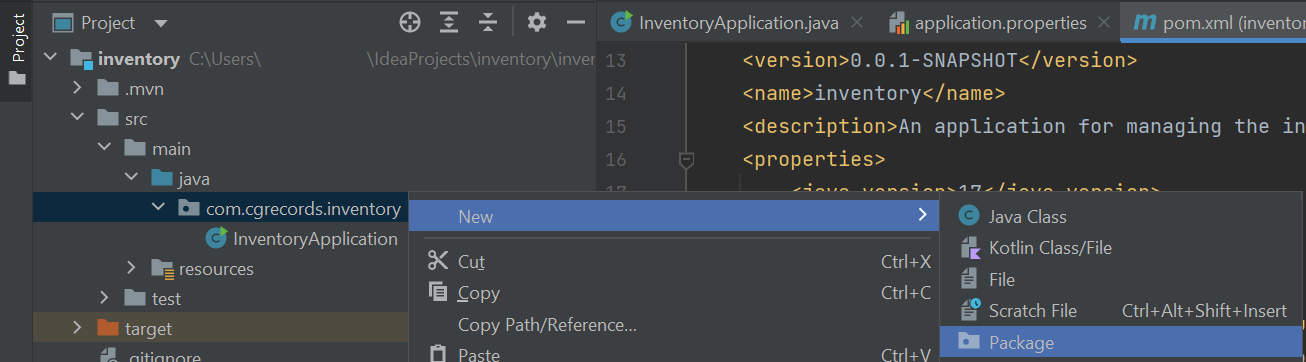
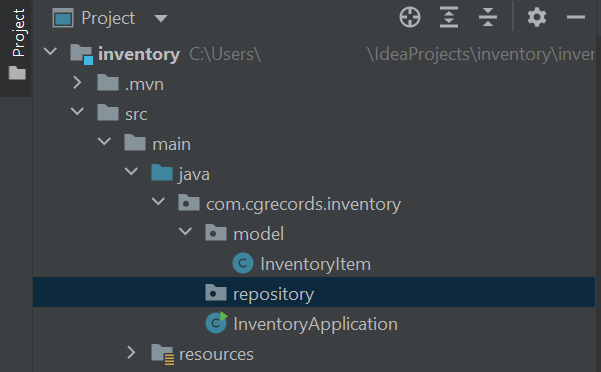
To help organise the application’s code, it is often beneficial to store the Java class files that will be mapped to entities in a dedicated folder within the application’s code. To do this, right-click the folder with the name of the project (Project > src > main > java) and select New > Package.
Name the package model. The model package will store all the Java classes that we will use to model data.

To create a new Java class that will model a database entity, right-click the model directory then select New > Java Class

Name the Java Class InventoryItem and select Class from the list of options.

Once the InventoryItem.java file opens in the editor, modify the file's code so it reads as follows:
import jakarta.persistence.Entity;
import jakarta.persistence.GeneratedValue;
import jakarta.persistence.Id;
import lombok.Data;

@Data
@Entity
public class InventoryItem {
    @Id
    @GeneratedValue
    Long inventory_item_id;
    String title;
    int quantity = 0;
}
In the above code, the InventoryItem class is labelled with a Lombok annotation called @Data. The @Data annotation combines several other Lombok annotations such as @ToString, @EqualsAndHashCode, @Getter, and @Setter. The @Getter and @Setter annotations are particularly useful to us because they automatically generate a getter and setter method for each field in the class. Getter methods are used to retrieve a field’s value, while setter methods are used to define a field’s value. For example, imagine we had an InventoryItem object stored in a variable called newInventoryItem. The getter methods provided by Lombok would allow us to access the InventoryItem object’s title field value using the following code:
String inventoryItemTitle = newInventoryItem.getTitle();If we were not using Lombok, then we would need to manually define the getter and setter for each field in the InventoryItem class. This could lead to a lot of repetitive boilerplate code, especially if the class contains a lot of fields.
Another interesting aspect of the @Data annotation is that it provides the class with a constructor. The constructor will contain parameters for all mandatory fields. A mandatory field is labelled with the @NonNull annotation or marked as final. The constructor will allow us to easily create new InventoryItem objects and insist that mandatory information is provided. For example, as it stands, no fields are marked as @NonNull or final so the constructor will not require any parameters. A new InventoryItem object can be created using the following Java code:
InventoryItem newInventoryItem = new InventoryItem();Alternatively, imagine we wanted to insist that all InventoryItem objects contain a value for the title field. To achieve this, we could label the title field in the InventoryItem class with the @NonNull annotation, as shown below:
@NonNull
String title;
After labelling the title field with the @NonNull annotation, we would need to provide a value for the title field when creating an InventoryItem object using the constructor generated by Lombok, as shown below:
InventoryItem newInventoryItem = new InventoryItem(“My first InventoryItem!”);Using a repository to interact with the database
Interactions between the application and the database are coordinated using a DAO (data access layer). Typically, a DAO would require lots of code to handle all the different database-related processes; however, Spring Data simplifies the DAO layer. We simply need to create an interface that extends a JPA interface called JpaRepository and the majority of the DAO implementation will be handled automatically. The JpaRepository interface will provide our application with a wide selection of database actions that will be sufficient for most of our needs. Any bespoke database operations that are not covered by the JpaRepository interface can be defined manually.
To maintain a suitable folder structure for the project's files, create a new package called repository in the same way you created the model package earlier.
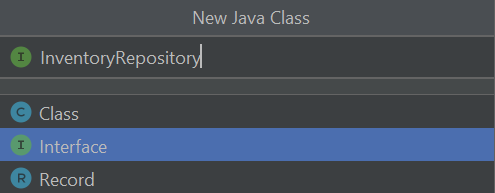
Next, right-click the repository package and select New > Java Class. Name the file InventoryRepository and select Interface from the list of options.
Once the InventoryRepository interface opens in the editor, modify its code so it reads as follows:
@Repository
public interface InventoryRepository
  extends JpaRepository<InventoryItem, Long> {
}
The above code defines a repository called InventoryRepository that inherits data from the JpaRepository interface. The JpaRepository interface contains code and tools for interacting with the database. To configure the JpaRepository interface correctly, you must supply the entity class that the repository is responsible for, and the data type of the entity’s primary key. The repository will use the entity and primary key to generate a collection of common JPA queries for interacting with the entity’s database table. We will discuss some of these JPA queries in this tutorial and future tutorials.
Creating a service to interact with the database repository
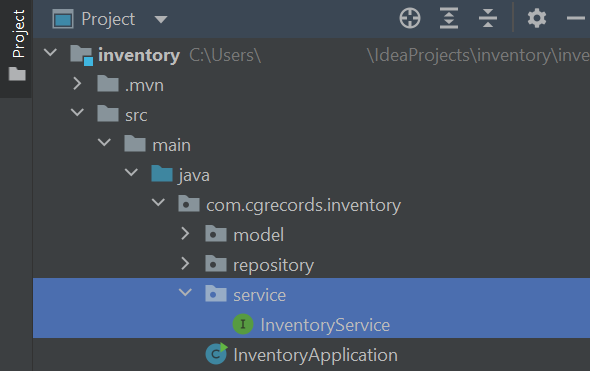
To facilitate interactions between the repository and broader application, we will create a service. The service will contain a dedicated method for each database query that we wish to execute. To arrange this, create a new package called service and add an interface called InventoryService.
In the InventoryService interface, you should define methods for each database interaction that you wish to facilitate. The methods will be implemented elsewhere, so you simply need to provide the return type of the method and the method signature (the method's name and parameters):
public interface InventoryService {
	void deleteInventoryItemByID(Long id);
    List<InventoryItem> getAllInventoryItems();
    InventoryItem getInventoryItemByID(Long id);
	InventoryItem saveInventoryItem(InventoryItem item);
}
In the above code, the deleteInventoryItemByID will delete InventoryItem objects from the database based on their ID. Meanwhile, the getAllInventoryItems method returns a list of all the InventoryItem objects found in the database and the getInventoryItemByID method returns an InventoryItem object (if found) based on its primary key value. Finally, the saveInventoryItem method accepts an InventoryItem object as an argument. The supplied InventoryItem object will be inserted into the database. The method also returns an InventoryItem object following the database insertion, which will be the supplied InventoryItem with any database-related property changes that have been made, such as setting a primary key value for the entity.
To implement the InventoryService interface, create a class in the service package called InventoryServiceImpl. Next, modify the InventoryServiceImpl class's code so it reads as follows:
@Service
public class InventoryServiceImpl implements InventoryService {
    InventoryRepository inventoryRepository;

    public InventoryServiceImpl(InventoryRepository inventoryRepository) {
        this. inventoryRepository = inventoryRepository;
    }

	@Override
    public void deleteInventoryItemByID(Long id) {
		inventoryRepository.deleteById(id);
	}

    @Override
    public List<InventoryItem> getAllInventoryItems() {
        return new ArrayList<>(inventoryRepository.findAll());
    }

    @Override
    public InventoryItem getInventoryItemByID(Long id) {
        Optional<InventoryItem> optionalItem = inventoryRepository.findById(id);
        return optionalItem.orElse(null);
    }

	@Override
    public InventoryItem saveInventoryItem(InventoryItem item) {
        return inventoryRepository.save(item);
    }
}
The @Service annotation signals that the class is a specialised Spring Boot application component and part of the application’s service layer. The @Service annotation also means the implementation class will be automatically initialised as a bean (an object managed by the application) through classpath scanning. In this way, we ensure the service implementation class is initialised at runtime and that other application components can interact with the service.
Next, inside the implementation class, we define a variable called inventoryRepository which will hold a reference of the InventoryRepository interface and allows us to interact with the database. The remainder of the class focuses on implementing the various InventoryService interface methods. Each method interacts with the InventoryRepository class to perform the necessary database actions. First, the deleteInventoryItemByID method uses the JpaRepository's deleteById functionality to remove an InventoryItem from the database based on its ID, if a suitable match is found. Meanwhile, the getAllInventoryItems method uses the JpaRepository’s findAll method to retrieve all the InventoryItem objects from the database. The getAllInventoryItems method returns the InventoryItem objects as an array list. Next, the getInventoryItemByID method uses the JpaRepository’s findById method to retrieve an InventoryItem object from the database based on a given ID value. The getInventoryItemByID method stores the result in Optional format because there is a chance that no InventoryItem object exists for the supplied ID. If no InventoryItem object is found, then the getInventoryItemByID method will return null instead. Finally, the saveInventoryItem method uses the JpaRepository’s save method to add a new InventoryItem entity to the database table. The save method accepts an InventoryItem object, assigns the object a unique ID that is stored in the object’s inventory_item_id field, inserts the object into the database and returns the object (with the new ID) to the saveInventoryItem method.